In cPanel, an email account refers to a specific email address associated with your domain. When you have a website hosted on a server using cPanel, you often have the ability to create custom email addresses using your domain name.
These email accounts can be used for professional communication, customer support, or any other purpose related to your website or business.
Table of Contents
Creating email accounts using cPanel interface
Creating email accounts using the cPanel interface is a user-friendly process that allows website owners and administrators to set up custom email addresses associated with their domain.
cPanel is a web-based control panel commonly provided by hosting providers for managing various aspects of a website and server.
Creating email accounts in cPanel is a straightforward process. Here are step-by-step instructions:
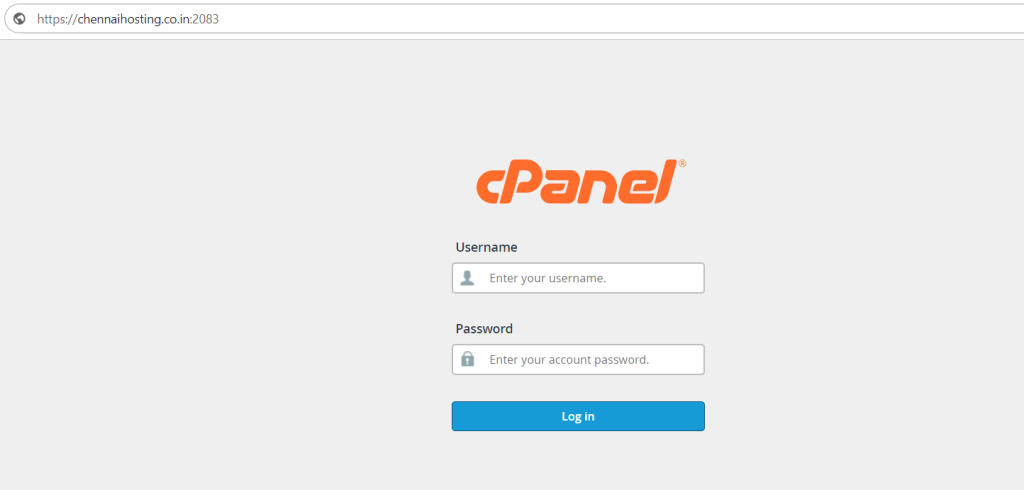
Log in to cPanel:
Open your web browser and navigate to your cPanel login page.
This is typically https://yourdomain.com/cpanel, where “yourdomain.com” is your actual domain name. Log in using your cPanel username and password.
Navigate to Email Accounts:
Once logged in, look for the “Email” section on the cPanel dashboard. In most cPanel setups, you’ll find an icon or a link specifically for “Email Accounts.” Click on it.

Create a New Email Account:
Inside the “Email Accounts” section, you’ll see a form where you can create a new email account. Fill in the necessary information:

Email: Enter the username you want for the email account. This will be the part before the “@” in the email address.
Password: Choose a secure password for the email account.
Password (again): Retype the password to confirm.
Mailbox Quota: Set the mailbox size limit if needed.
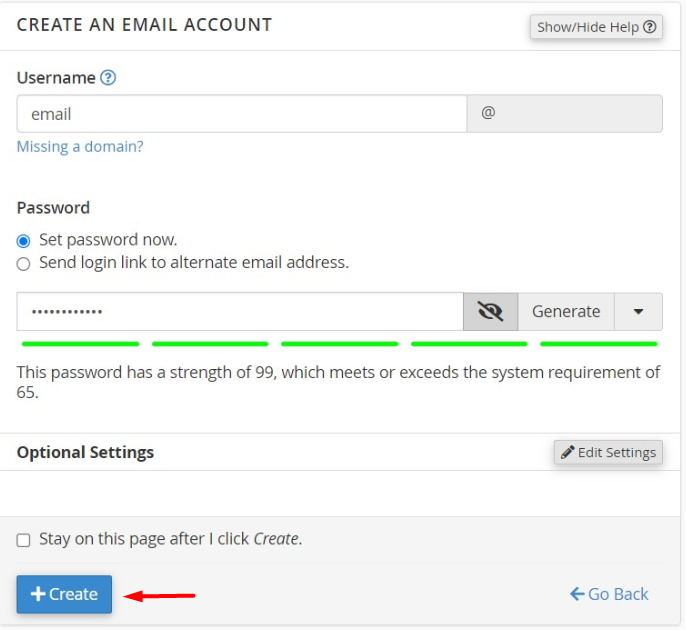
Configure Additional Settings (Optional):
Depending on your needs, you might see additional options like setting up forwarders, enabling autoresponders, or configuring default addresses. Adjust these settings according to your preferences.
Create the Email Account:
Once you’ve filled in the required information, click on the “Create Account” or “Add Account” button. This will finalize the creation of your new email account.
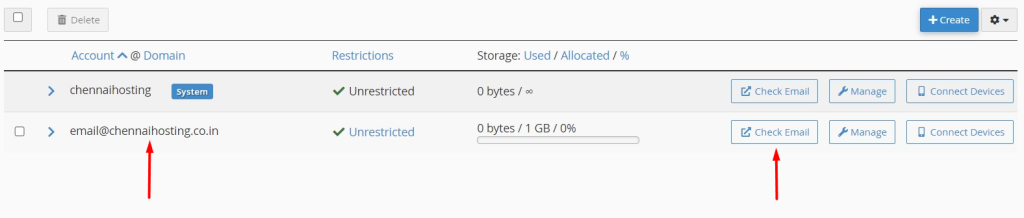
Access Webmail or Configure Email Client:
After creating the email account, you can access it through webmail or configure an email client like Outlook or Thunderbird to manage your emails. cPanel usually provides links to webmail options, and you can also find email client configuration details within the “Email Accounts” section.
Creating email accounts using SSH
Creating email accounts using SSH typically involves accessing a server through the Secure Shell (SSH) protocol to configure and manage email accounts.
SSH is a secure method for connecting to remote servers and executing commands. The specific steps and commands can vary depending on the email server software you are using (e.g., Postfix, Exim, Sendmail) and the operating system of the server (e.g., Linux, Unix).
To create cPanel email accounts using SSH, you can use the cPanel command-line utilities.
Here is a simple step on how to create an email account for a cPanel user.
/scripts/addpop user_id@yourdomains.com user_passwordHere we consider,
user_id is test@chennaihosting.co.in
user_password is M5ub9?T8$tEt
/scripts/addpop test@chennaihosting.co.in M5ub9?T8$tEt
Now, you can navigate to email accounts option to view the email account created using SSH

You can modify the quota using below command
/home/account_name/etc/yourdomains.com/quotaAnd add quota for the user ID.
Here, we can take user ID as test and quota as 512000000 in bytes

Now, you can navigate to email accounts option to check the updated quota for the email user.

That’s it! You’ve successfully created an email account in cPanel. Remember to use secure passwords and regularly update them to enhance the security of your email accounts.
We hope you’ve found this useful!!