Securing website is crucial for protecting both your data and your visitors.
cPanel offers a variety of built-in tools and features that make it easier to safeguard your site from threats like hacking, malware, and data breaches.
Table of Contents
Securing Website Using cPanel Security Features
Here’s a guide on how to use cPanel’s security features to keep securing website.
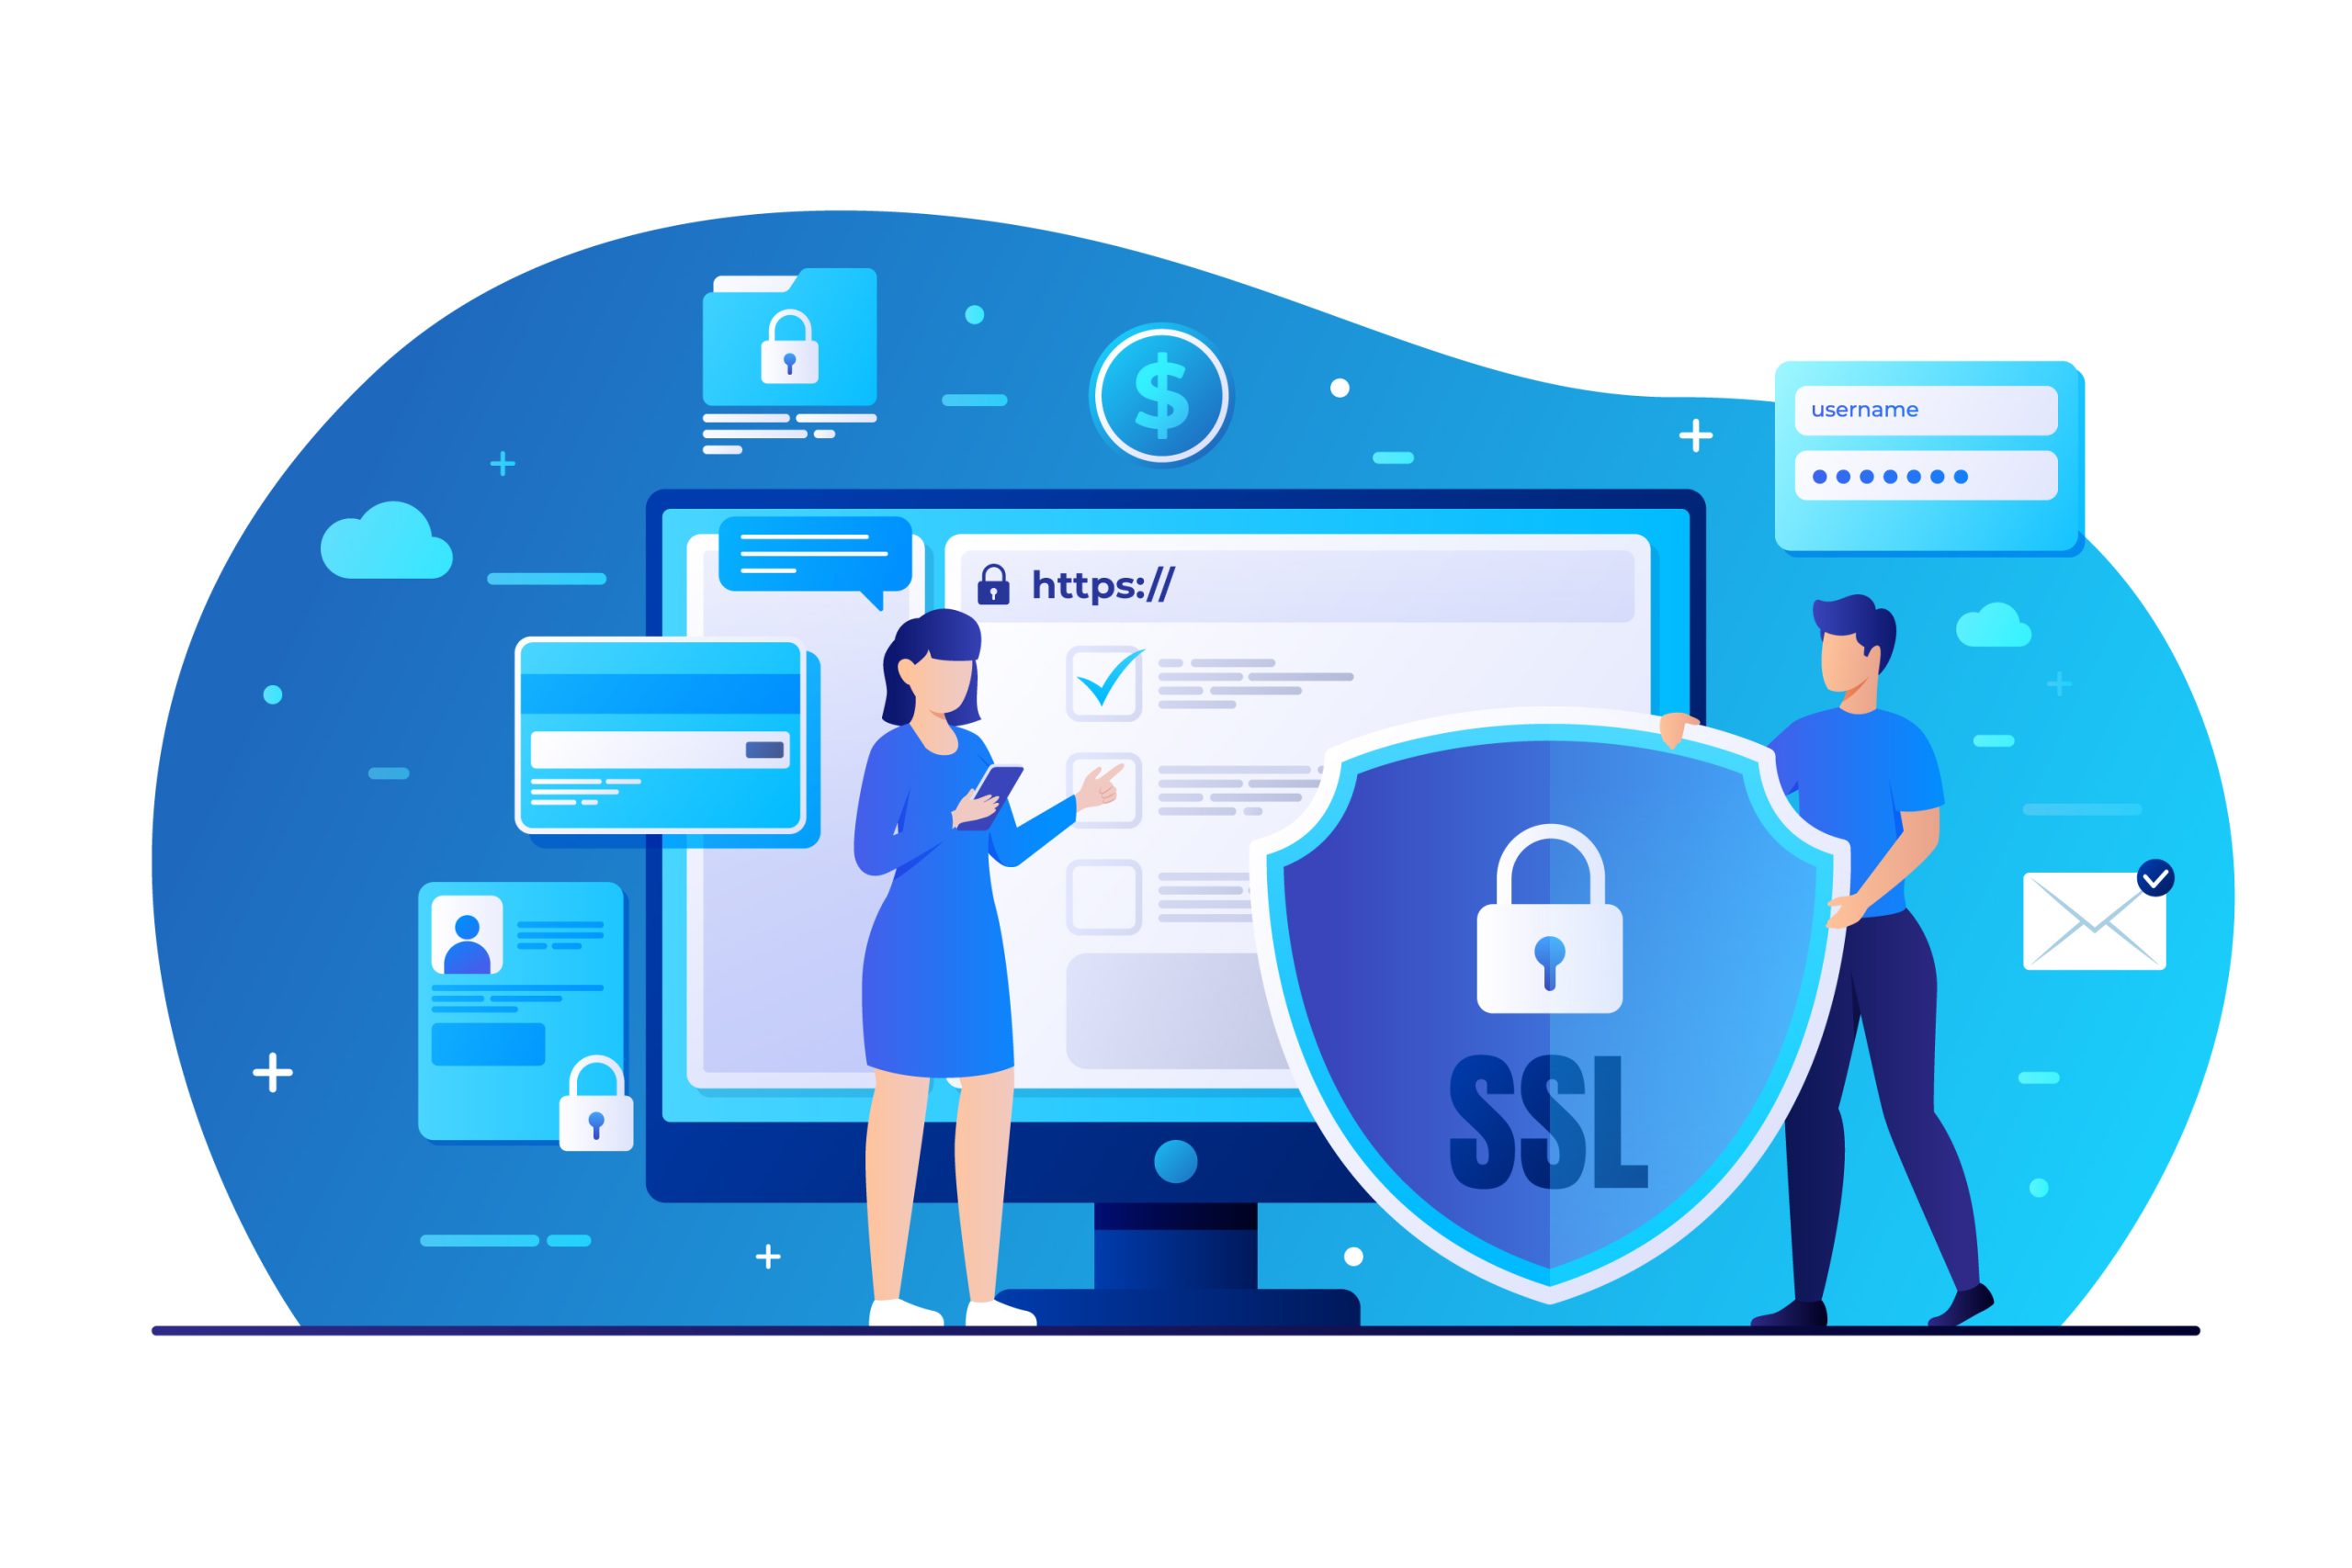
1. Enable SSL Certificates for HTTPS
An SSL (Secure Sockets Layer) certificate encrypts the data transmitted between securing website and its visitors, ensuring sensitive information like login credentials and credit card details remain secure.
- Navigate to SSL/TLS in cPanel.
- Use the Let’s Encrypt option (if available) to install a free SSL certificate for your domain.
- After installation, your site will switch from HTTP to HTTPS, indicating it’s secure.
- Why It’s Important: SSL encryption is essential for protecting sensitive data and improving your site’s trustworthiness. It’s also crucial for better search engine rankings.
2. Use IP Blocker
The IP Blocker tool in cPanel allows you to block specific IP addresses or ranges from accessing your website. This feature is useful if you notice malicious attempts to access your site from a particular IP.
- Go to Security > IP Blocker.
- Enter the IP address or range of IPs you want to block and click Add.
- Why It’s Important: Blocking suspicious IP addresses helps securing website from brute-force attacks or other malicious activities.
3. Password-Protect Directories
cPanel allows you to restrict access to certain directories by adding password protection. This feature is especially useful for securing website sensitive areas of your website, like admin sections or staging environments.
- Navigate to Directory Privacy under the Files section.
- Select the folder you want to protect, click Edit, and enable password protection.
- Set a username and password for access.
- Why It’s Important: Adding password protection to critical directories prevents unauthorized access to sensitive information.
4. Enable Two-Factor Authentication (2FA)
Two-Factor Authentication (2FA) adds an extra layer of security to your cPanel account by requiring not only your password but also a second form of verification, like a code sent to your phone.
- Go to Security > Two-Factor Authentication.
- Set up 2FA by scanning a QR code with an authentication app (e.g., Google Authenticator).
- Once set up, you’ll need the app-generated code and your password to access cPanel.
- Why It’s Important: 2FA reduces the risk of unauthorized access, even if someone manages to steal your password.
5. Configure Hotlink Protection
Hotlinking occurs when other securing website use your images or files, which can consume your bandwidth and resources. cPanel’s Hotlink Protection prevents other securing website from directly linking to your files.
- Navigate to Security > Hotlink Protection.
- Enable Hotlink Protection and specify which file types and domains should be protected.
- You can allow specific websites to access your files if needed.
- Why It’s Important: This prevents other sites from exploiting your resources, helping you conserve bandwidth and server capacity.
6. Use ModSecurity (Web Application Firewall)
ModSecurity is a web application firewall (WAF) that helps protect your site from common web vulnerabilities, such as SQL injection and cross-site scripting (XSS). Some hosting providers include ModSecurity in their cPanel setups.
- Go to Security > ModSecurity.
- Enable ModSecurity for your domains.
- Why It’s Important: A WAF like ModSecurity provides an extra layer of defense against attacks on your website’s application layer.
7. Enable cPHulk (Brute-Force Protection)
cPHulk is a brute-force protection system that protects your cPanel and server from unauthorized access attempts by blocking suspicious login activity.
- Go to Security > cPHulk Brute Force Protection.
- Enable cPHulk and configure rules for login attempts, blocking IPs after a specific number of failed login attempts.
- Why It’s Important: Prevents hackers from using brute-force attacks to guess login credentials.
8. Configure Leech Protection
Leech Protection allows you to limit the number of times users can log into a specific area of securing website within a set period. It’s useful for preventing users from sharing their credentials publicly.
- Navigate to Security > Leech Protection.
- Select the directory you want to protect and set the login attempt limits.
- You can also set up an alert to notify you when an account is being abused.
- Why It’s Important: Protects your membership areas or any login-protected sections from account abuse.
9. Set Up SSH Access Securely
If you need SSH (Secure Shell) access to your server for advanced file management or development tasks, it’s important to configure it securely.
- Go to Security > SSH Access.
- Use SSH Keys to set up key-based authentication, which is more secure than password-based authentication.
- Disable password authentication for SSH to prevent unauthorized access.
- Why It’s Important: SSH access allows you to securely manage your server, and using key-based authentication adds another layer of security.
10. Monitor Website Metrics and Logs
Regularly monitoring your website’s traffic and error logs can help you spot potential security issues before they escalate. cPanel provides several tools to do this:
- Errors: View securing website error logs to identify issues that may need fixing.
- Visitors: See who is visiting your site and their IP addresses.
- Raw Access Logs: Get raw data about traffic to your site, which can help you spot unusual activity.
- Why It’s Important: Analyzing logs allows you to detect suspicious behavior early, giving you the opportunity to take preventative measures.
11. Keep Software Up-to-Date
Ensure that all software on your server, such as content management systems (e.g., WordPress), plugins, and other applications, are always up to date. Most attacks exploit outdated software with known vulnerabilities.
- Use Softaculous or your CMS’s built-in update system to keep everything current.
- Why It’s Important: Regular updates patch security vulnerabilities, making it harder for attackers to exploit your website.
12. Install Security Plugins (For WordPress or Similar CMS)
If you’re running a CMS like WordPress, consider installing a security plugin to provide additional layers of protection. Tools like Wordfence, iThemes Security, or Sucuri can offer advanced features like malware scanning, login monitoring, and firewalls.
- Why It’s Important: Security plugins add extra layers of protection beyond what cPanel alone provides, particularly for common CMS vulnerabilities.
Conclusion
cPanel’s security features offer comprehensive tools to help you securing website from various threats.
By implementing SSL certificates, setting up firewalls, enabling 2FA, and regularly monitoring your site, you can create a strong defense against malicious attacks and data breaches.
Security should always be a priority, and these cPanel features make it easier to safeguard your online presence.