Domain name registration is one of the first steps in establishing an online presence for your website or blog.
A domain name serves as your website’s unique address on the internet, allowing users to find and access your website easily.
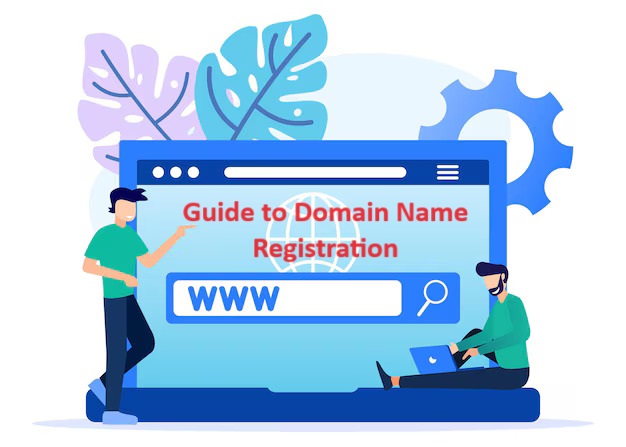
This beginner’s guide will walk you through the process of domain name registration, including choosing a domain name, selecting a domain registrar, and completing the registration process.
Table of Contents

What is a Domain Name?
A domain name is a unique, human-readable web address that represents your website on the internet. It typically consists of a memorable name followed by a domain extension (e.g., .com, .org, .net).
For example, in the domain name “example.com,” “example” is the name chosen by the website owner, and “.com” is the domain extension.
Choosing a Domain Name
- Select a Memorable Name: Choose a domain name that is short, easy to spell, and memorable to make it easier for users to remember and type your website’s address.
- Use Keywords: Incorporate relevant keywords related to your website’s content, industry, or niche to improve search engine visibility and attract targeted traffic.
- Avoid Numbers and Hyphens: Avoid using numbers, hyphens, or special characters in your domain name to prevent confusion, misspellings, and potential trademark issues.
- Check Availability: Use a domain name availability checker or domain registrar’s search tool to check if your desired domain name is available for registration.
Selecting a Domain Registrar
A domain registrar is a company or service provider that allows you to register, manage, and renew domain names. When choosing a domain registrar, consider the following factors:
- Reputation and Trustworthiness: Choose a reputable and trustworthy domain registrar with a proven track record of reliability, security, and customer support.
- Price and Renewal Rates: Compare registration, renewal, and transfer fees, as well as promotional offers, discounts, and package deals to find affordable and cost-effective domain registration options.
- Features and Services: Look for domain registrars that offer additional features and services, such as domain privacy protection, DNS management, email hosting, website builders, and SSL certificates, to simplify website management and enhance online security.
- Customer Support: Evaluate the quality, responsiveness, and availability of customer support through various channels (e.g., phone, email, live chat) to ensure timely assistance and support whenever needed.
Completing Domain Name Registration
- Search and Select Domain: Use the domain registrar’s search tool to find and select your desired domain name, check availability, and choose a domain extension (.com, .org, .net, etc.).
- Register Domain: Follow the registrar’s registration process, create an account, provide personal and contact information, select registration options and settings (e.g., registration duration, domain privacy protection), and complete the domain registration payment.
- Verify and Confirm: Confirm the domain registration details, verify ownership and contact information, and review the terms of service, registration agreement, and renewal policies before finalizing the registration.
- Manage Domain: Access the domain registrar’s control panel, manage your registered domain, update DNS settings, configure domain settings and preferences, renew registration, and monitor domain status, expiration date, and renewal reminders.
Registering a domain name and hosting it on cPanel involves two separate processes: domain name registration through a domain registrar and web hosting setup and management through cPanel.
Here’s a comprehensive guide to help you register a domain name and host it on cPanel:
Web Hosting Setup on cPanel
Step 1: Purchase Web Hosting
- Choose a Hosting Provider: Select a reliable web hosting provider that offers cPanel hosting plans, good uptime, performance, security, and customer support.
- Purchase Hosting Plan: Choose a hosting plan that meets your website’s requirements, purchase the plan, and complete the hosting setup process.
Step 2: Link Domain to Hosting
- Update Nameservers: Log in to your domain registrar’s account, update the domain nameservers to point to your hosting provider’s nameservers provided in the hosting welcome email or cPanel account.
Step 3: Access cPanel and Install Website
- Login to cPanel: Access cPanel using the login credentials provided by your hosting provider or from the hosting welcome email.
- Install Website: Use the cPanel dashboard to install WordPress or other website platforms using the one-click installer (e.g., Softaculous, Installatron), configure website settings, and set up your website.
Step 4: Manage and Maintain Website
- Manage Files and Databases: Use cPanel’s File Manager and phpMyAdmin tools to manage website files, directories, and databases, upload website content, and perform backups.
- Configure Settings: Configure website settings, domain aliases, subdomains, email accounts, SSL certificates, security settings, and other preferences in cPanel to optimize website performance, security, and functionality.
- Monitor and Maintain: Regularly monitor website performance, traffic, uptime, security, and update website content, plugins, themes, and software to ensure website stability, security, and compliance with the latest web standards and best practices.
Conclusion
Domain name registration is a crucial step in establishing your online presence, building brand identity, and attracting visitors to your website. By choosing a memorable domain name, selecting a reputable domain registrar, and completing the registration process carefully and responsibly, you can secure your unique web address, protect your online identity, and set the foundation for a successful and thriving website or online business.