Upload and manage files using FTP (File Transfer Protocol) is a common method for maintaining your website.
Table of Contents
How to Upload and Manage files using ftp
Here’s a step-by-step guide to help you do this efficiently:
1. Setting Up FTP Access
Step 1: Create an FTP Account in DirectAdmin
- Log in to your DirectAdmin control panel.
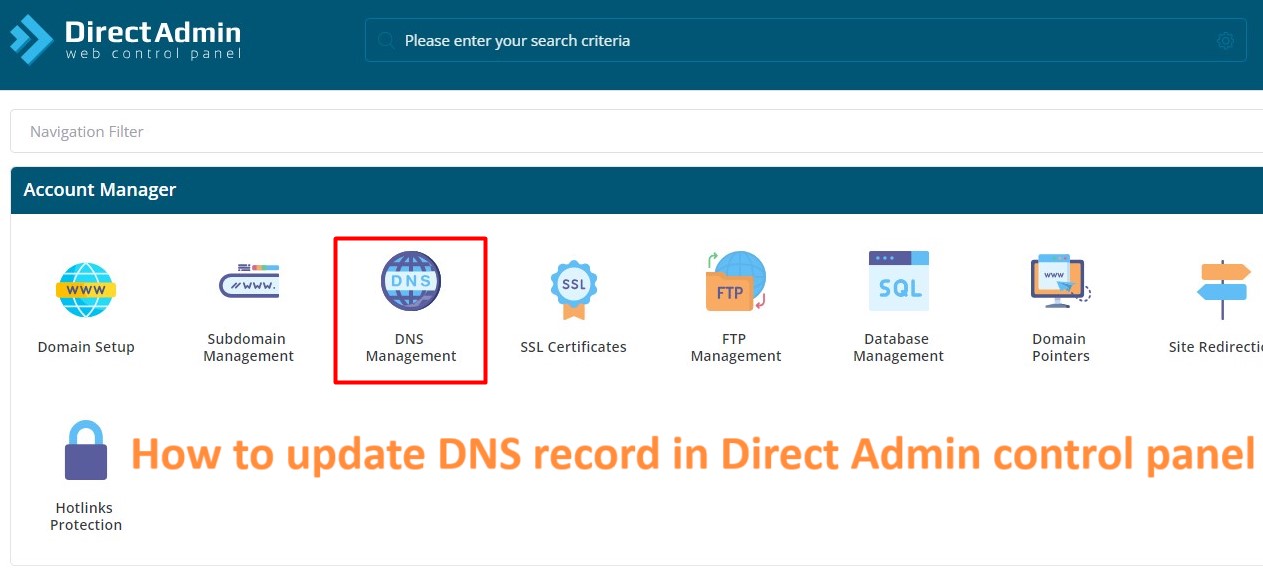
- Navigate to Account Manager > FTP Management.
- Click on Create FTP Account.
- Fill in the necessary details:
- Username: The username for the FTP account.
- Password: A strong password for the account.
- Domain: Select the domain you want the FTP account to be associated with.
- FTP Path: Define the directory the user will have access to (e.g.,
public_htmlfor web files).
- Click Create to set up the FTP account.
Step 2: Note the FTP Details
- After creating the account, take note of the FTP server address (usually
ftp.yourdomain.com), the FTP username, and password. You’ll need these details to connect to the server using an FTP client.
2. Connecting to the FTP Server
Step 1: Choose an FTP Client
- Download and install an FTP client. Popular choices include:
- FileZilla (Windows, macOS, Linux)
- Cyberduck (Windows, macOS)
- WinSCP (Windows)
- Transmit (macOS)
Step 2: Configure the FTP Client
- Open your FTP client and create a new connection:
- Host: Enter the FTP server address (e.g.,
yourdomain.com). - Port: Use port
21for standard FTP or port22for SFTP (Secure FTP). - Username: Enter the FTP username you created in DirectAdmin.
- Password: Enter the FTP password.
- Protocol: Choose FTP or SFTP depending on your server settings.
- Host: Enter the FTP server address (e.g.,
- Save the configuration and connect to the server.
3. Uploading Website Files
Step 1: Locate the Local Files
- On the left pane of your FTP client, navigate to the directory on your computer where your website files are stored.
Step 2: Navigate to the Server Directory
- On the right pane (representing the server), navigate to the directory where you want to upload your files, typically the
public_htmldirectory for your main website. - If you want to upload files to a subdomain or subdirectory, navigate to the appropriate folder.
Step 3: Upload Files
- Select the files and folders you want to upload from the left pane.
- Drag and drop them into the appropriate directory on the server (right pane).
- The FTP client will start uploading the files. You can monitor the progress in the client’s transfer window.
4. Manage Files
Step 1: Organize Files
- You can create new directories, rename files, or move files within the FTP client by right-clicking on the files or directories and selecting the appropriate action.
- Ensure that your website files (HTML, CSS, images, etc.) are organized properly within the
public_htmlor relevant directories.
Step 2: Set File Permissions
- File permissions control who can read, write, or manage files. You can set these permissions in your FTP client.
- Right-click on a file or directory and select Permissions or File Permissions.
- Set the appropriate permissions (e.g.,
755for directories and644for files).
Step 3: Download or Edit Files
- To download files from the server to your local machine, simply drag them from the right pane to the left.
- Some FTP clients allow you to directly manage files. Right-click on the file and choose Edit. Make sure to save the changes, which will automatically upload the edited file back to the server.
5. Deleting Files
Step 1: Select Files or Folders
- Navigate to the directory containing manage files or folders you want to delete.
Step 2: Delete Files
- Right-click on the file or folder and select Delete.
- Confirm the deletion when prompted. Be careful when deleting files, as this action cannot be undone.
6. Troubleshooting Common Issues
Connection Problems
- Check Login Details: Ensure the FTP server, username, and password are correct.
- Firewall Settings: Ensure that your firewall allows FTP connections.
- Passive Mode: If you have trouble connecting, try enabling passive mode in your FTP client settings.
Permission Errors
- If you encounter permission errors, check the file and directory permissions and ensure they are set correctly for the server to access and execute them.
Incomplete Transfers
- If file transfers fail or are incomplete, try uploading the files again. If the issue persists, consider using a different FTP client or checking the server’s disk space.
7. Securing Your FTP Connection
Use SFTP Instead of FTP
- SFTP (Secure File Transfer Protocol) encrypts your data, providing a more secure method of transferring files. If your server supports SFTP, it’s recommended to use it over standard FTP.
Regularly Update Passwords
- Update your FTP passwords regularly to enhance security. Ensure your passwords are strong and unique.
By following this guide, you can efficiently upload and manage files using FTP, ensuring your website is updated and maintained correctly.


